A few days ago I came across a blog post by
Karon's Krafty Korner that really wowed me. It shows you how to make a small Christmas tree from a book. It's one of those projects that looks amazing but is actually quite easy and cheap to make. All you need is an old book to construct the tree and some decorations of your choice to dress it up. I was eager to create my own version! Here it is:
I had just the right book in mind for this purpose! I couple of weeks ago I bought a thick, 600+ pages book in my local charity shop to use the cover for another project. I wasn't really sure what to do with all the book pages. There's only so many pages I can use for collage! (By the way, I've already read the book on my Kindle -
Kate Morton's Distant Hours. Not her best, but still worth reading!)
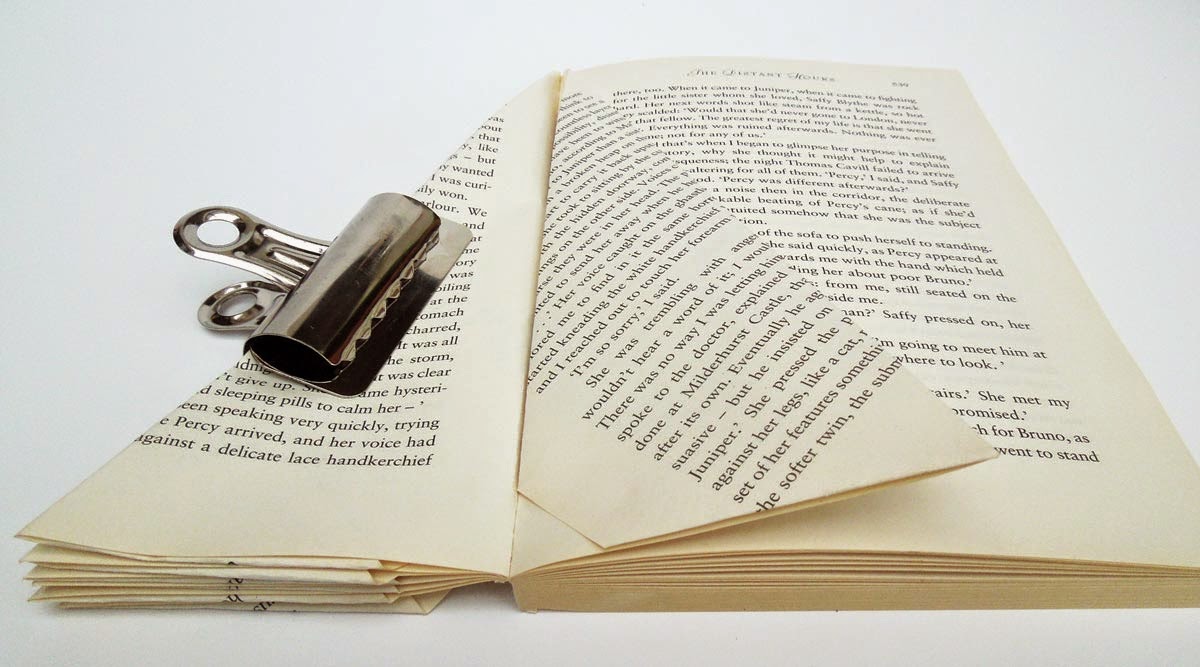
You need between 150-175 pages to construct the tree. I can make four trees from just this one book! First you need to separate the covers and then divide the book into 150-175-page sections.
 |
| 150-175 pages of book sections |
Then just start folding the pages. There's a great
video on YouTube which shows you how to do this. I'll just show you some photos. You don't need to glue anything - the book naturally forms the tree shape when all the pages have been folded. It gets a bit tricky after you pass the halfway mark, but it's doable. Use a bulldog clip to help keep the folded pages out of the way.
 |
| Folding the pages |
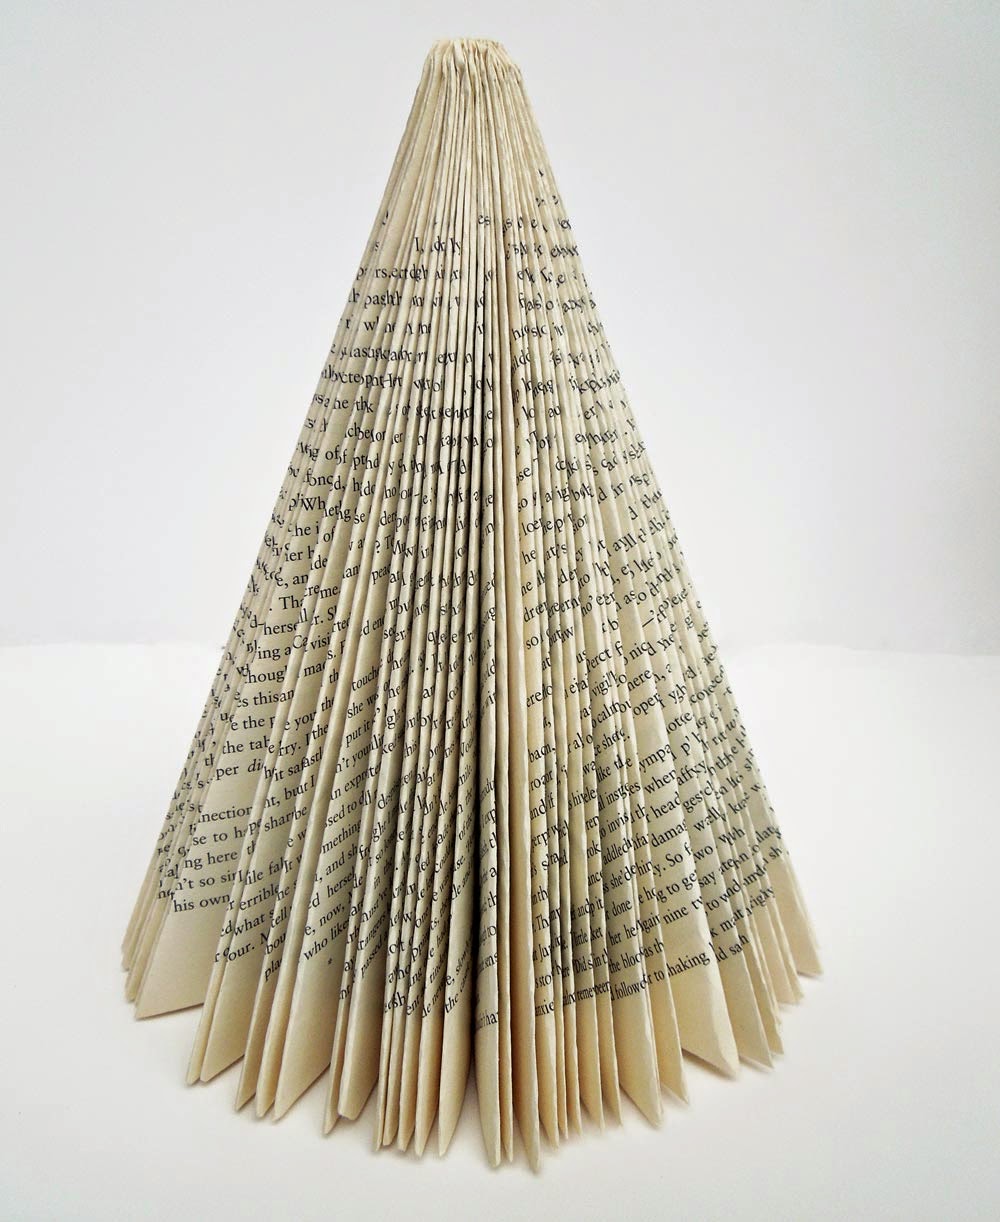 |
| The book naturally takes up this cone shape |
 |
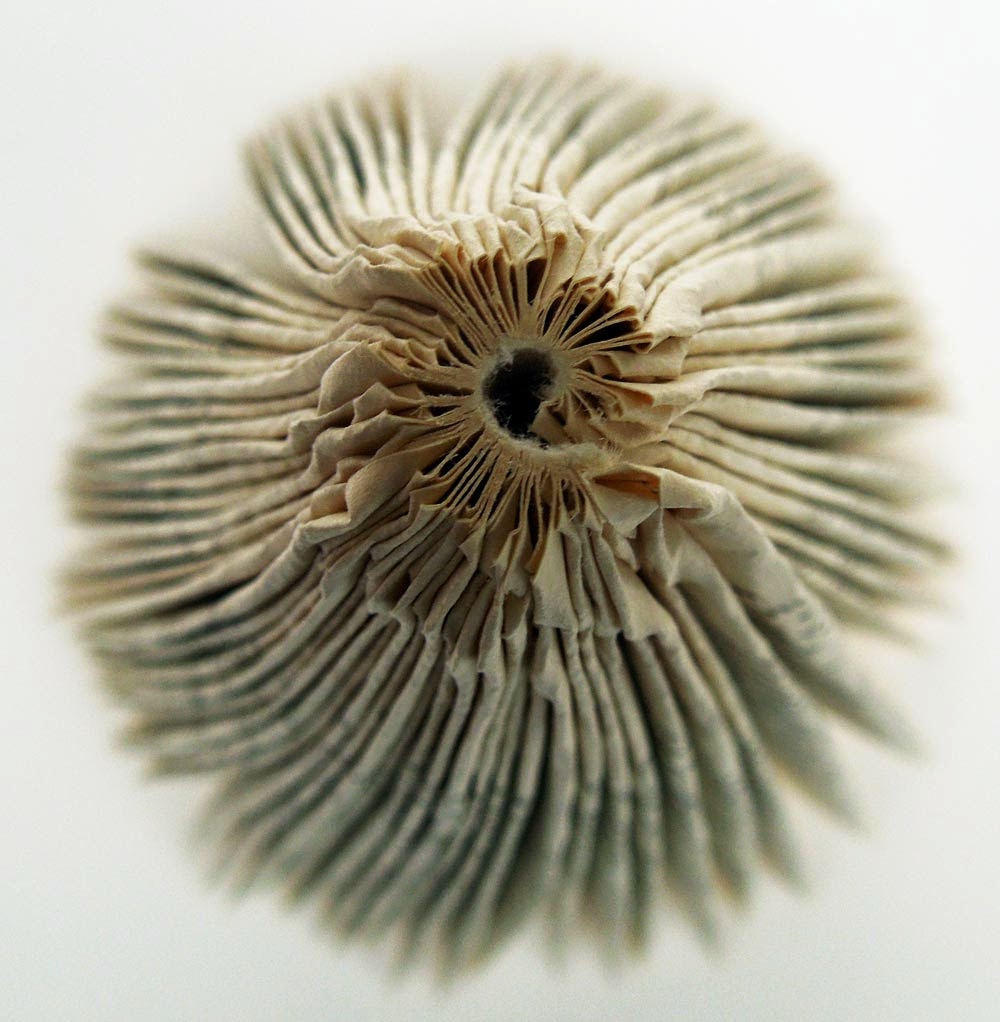
| Bottom view |
 |
| Top view |
That's it! Your tree is now ready to decorate to your heart's content. There's so many ways to decorate it. I used
Dylusions inks to spay it a colourful pink/orange colour. It got a bit soggy but dried quickly. When it was dry I applied some
gilding wax and
Stickles to the edges to add a touch of shimmer and sparkle.
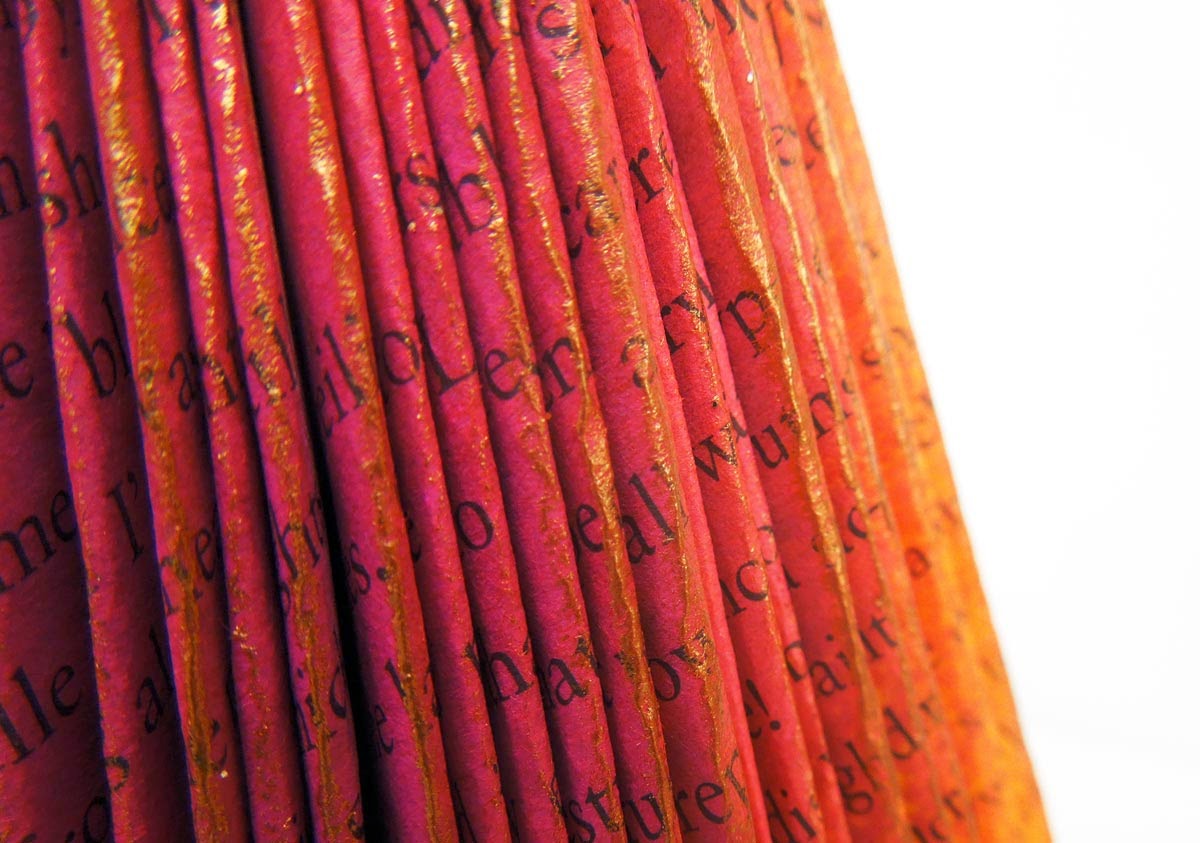 |
| I rubbed some gilding wax on the edges |
 |
| I added some glitter glue as well for a sparkly effect |
I placed a working LED star on top of the tree, carefully hiding the wires inside. I just happened to have this in my stash and it was the perfect size. I finished the decoration with a piece of cream ribbon and some fabric flowers that I decorated with Stickles and pearls in the middle. I stuck these down with a hot glue gun.
 |
| The finished project |
 |
| I sprayed the flowers with the same inks as the tree |
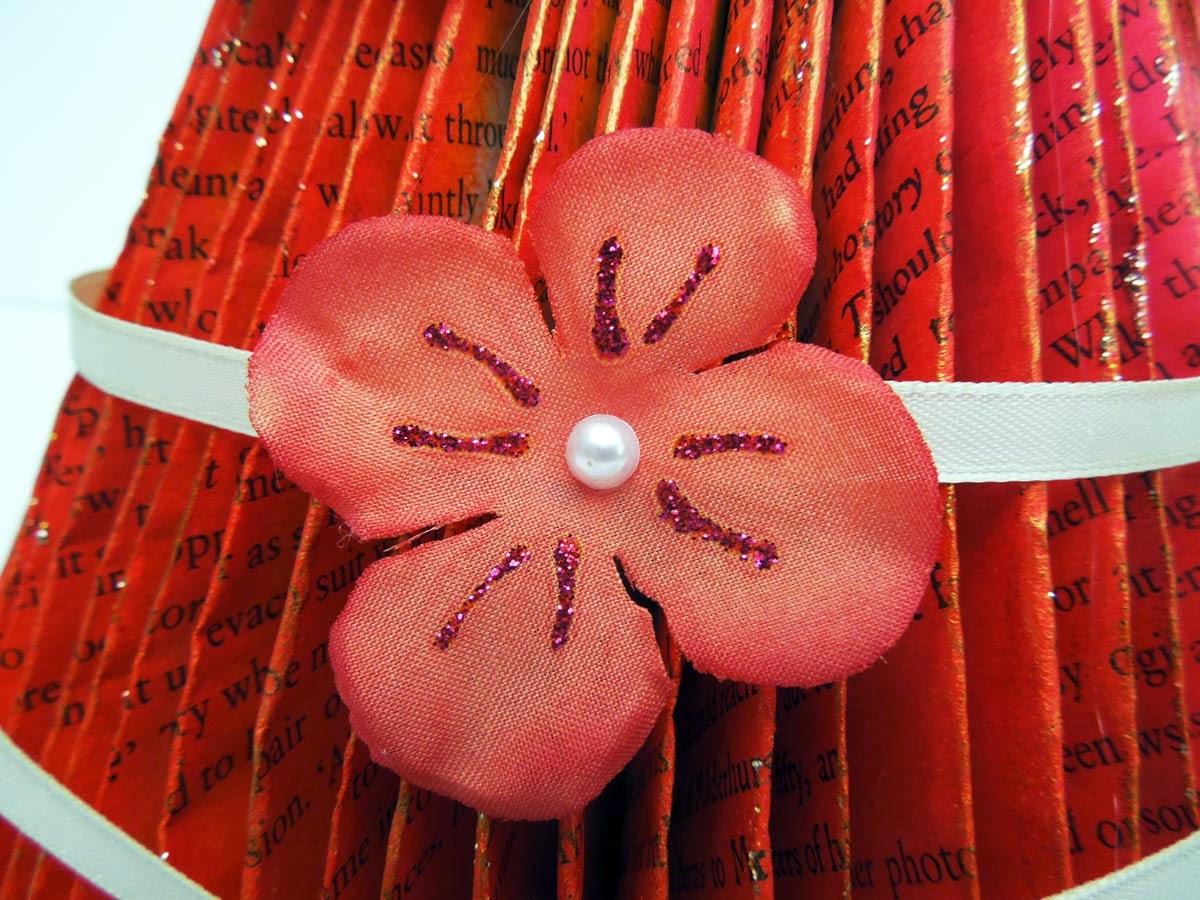 |
| I placed a pearl in the middle and added some details with Stickles |
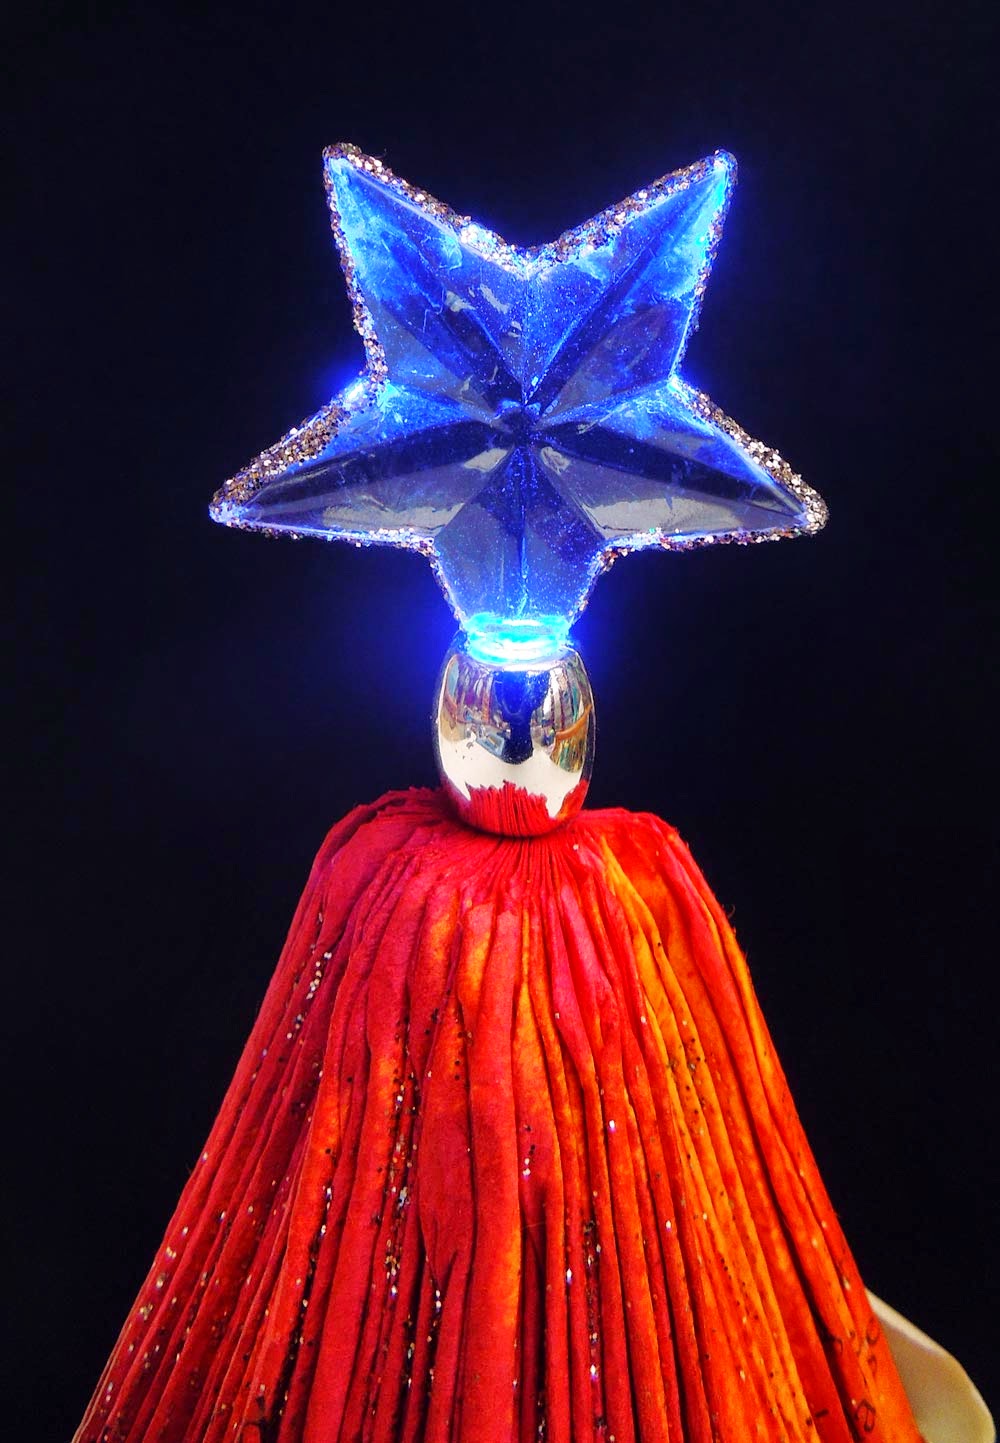 |
| The star lights up on top! |
This is such a fun project to make! It's easy enough to do with your children and let them go wild with the decoration. They will enjoy folding the pages and decorating their own Christmas tree. It is also a very versatile project. You can decorate your tree in all sorts of ways. You can be as sophisticated or as extravagant as you like. I'm thinking of doing a steampunk version with metallic effect and cogs instead of flowers for decoration. The possibilities are truly endless!


No comments:
Post a Comment
I would love to hear from you. Please leave a comment below.